The Personalized Catalog Views feature in NetSuite is available since the SuiteCommerce 2019.2 release, and I prepared this helpful guide to show you what it is, how it works, and how to set it up.
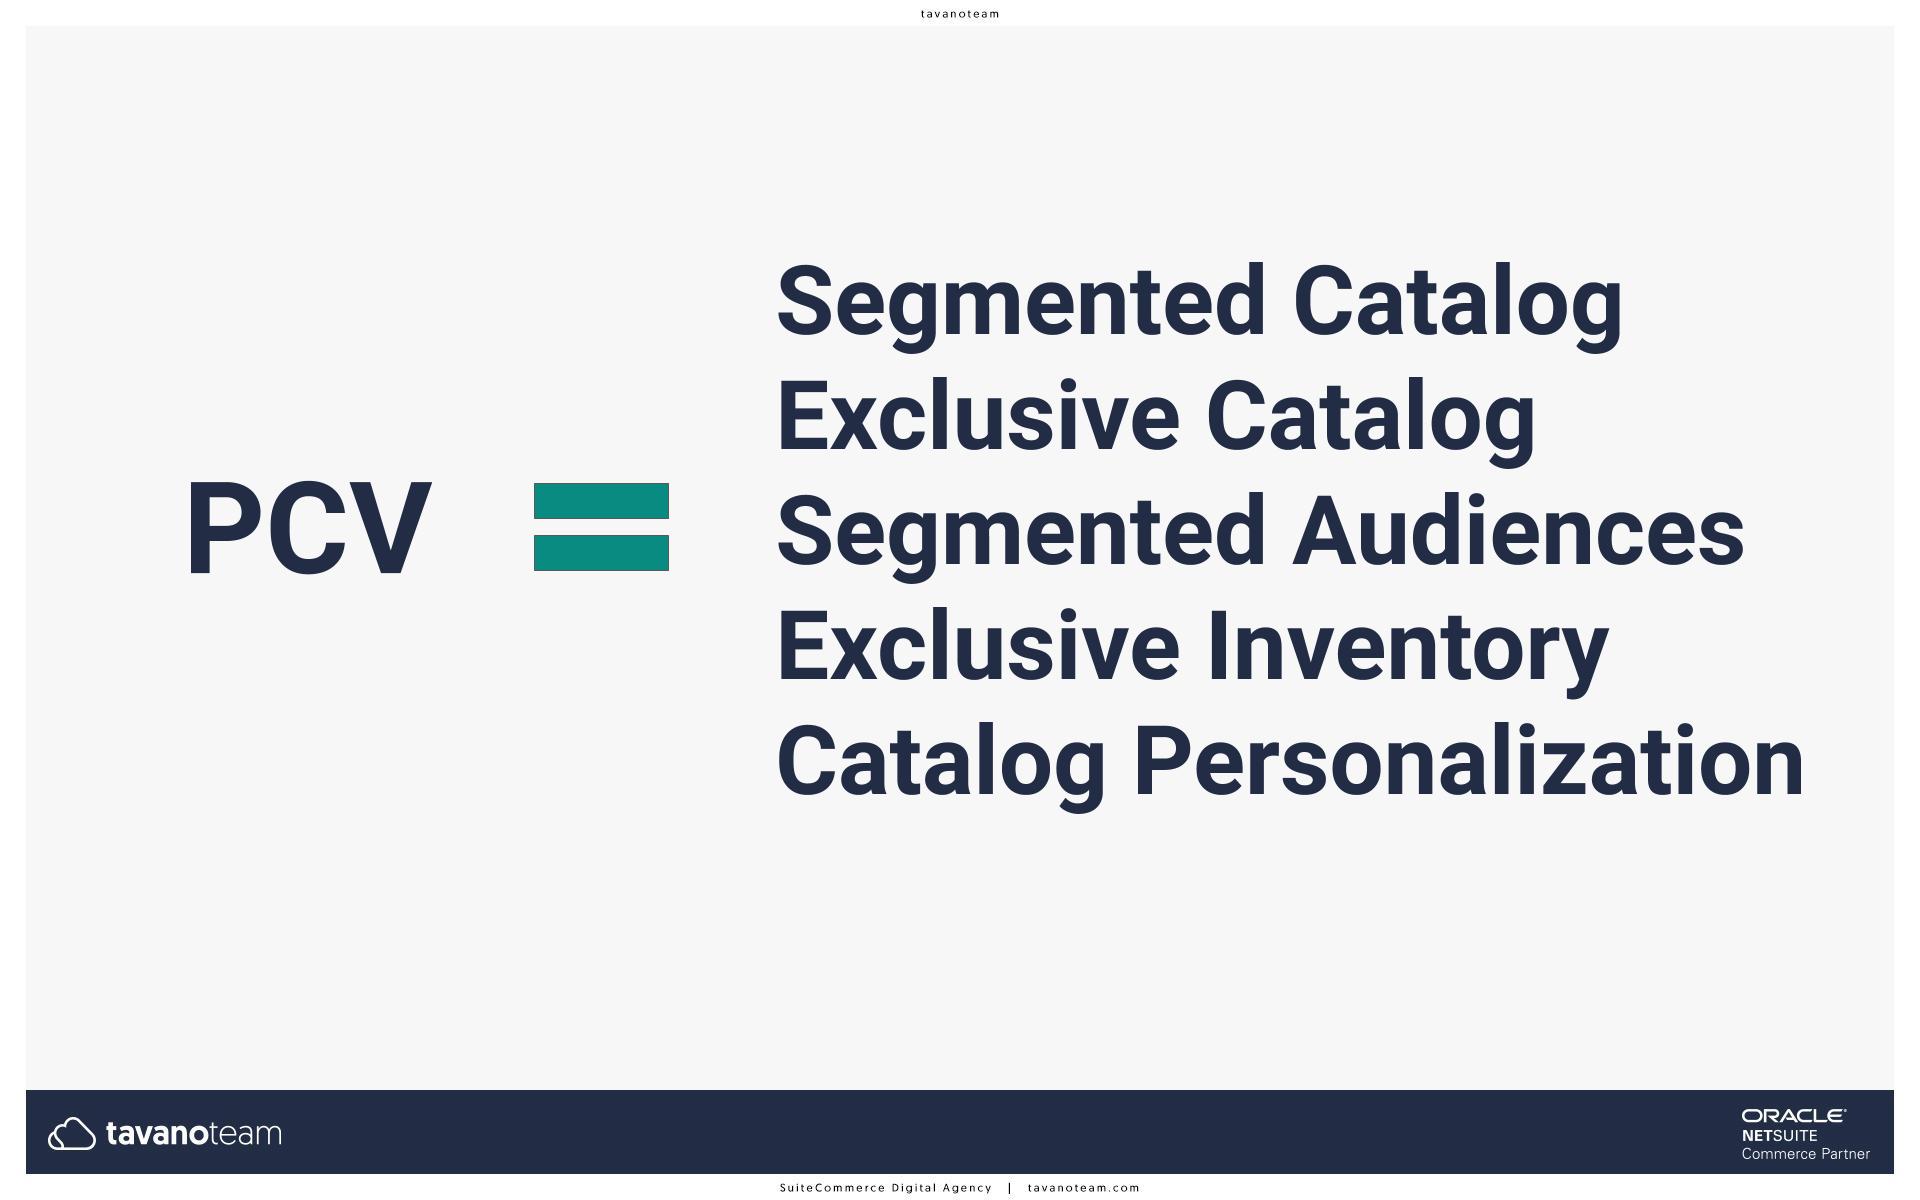
Before I get into the details, I want to clarify that you might know this feature (or its equivalent) with a different name. Before it was included in NetSuite as Personalized Catalog Views, at Tavano Team, we developed our feature to achieve precisely this. We used the name Segmented Catalog or Segmented Audiences.
Some clients and prospects used other names to know it by Exclusive Catalog, Exclusive Inventory, or Catalog Personalization.
What does it do?
Let’s say you have a wide range of products and a diverse pool of customers. But what happens if you have a specific range of products that caters exclusively to a small segment of your customers?
In other words, does your eCommerce allow you to show a custom product offering to a specific group of customers?
Enter the Personalized Catalog Views. This feature will help you create a dynamic offering on your website, where customers will only have access to the items assigned to the segment to which they belong.
We use Personalized Catalog Views a lot for microsites, for example, because we need different products to be shown on each of the other sites in those cases.
The feature is handy for B2B websites. Whether it’s for granting selected customers VIP access to exclusive products or if you’re a wholesaler and only a few of your retailers are licensed to sell specific products, the Personalized Catalog Views can help you simplify the user experience.
B2B/B2C websites might also find it helpful, i.e., when a B2B customer logs in, they will have access to a broader range of products/offers than a standard B2C customer would.
How does it work?
The Personalized Catalog Views feature uses three records in NetSuite: Customer Groups, Commerce Categories, and Item Collections. Once we set these three records, we move on to the Customer Segment Manager Tool, which will help us get everything in place.
Step 1: Enable Personalized Catalog Views
You’ll need to follow six steps to set it up, and I’ll walk you through it. It’s pretty simple. The very first step is to enable the feature in your account. Go to:
Setup > Company > Enable Features
You will find the Personalized Catalog Views feature in the Items and Inventory subtab, and you can enable it there.
The Personalized Catalog Views is not an extension. It’s a feature that comes already in the backend, and you need to enable it.
Step 2: Customer and Product Segmentation
Next, you need to determine how you’re going to divide your customers and how you’re going to divide your products to decide later which product groups will be available to which customer segments.
Go to the drawing board and figure out what you want to do before working on it in NetSuite.
Step 3: Create Customer Groups
Now you can start creating the customer groups. There are two main types of customer groups you can use.
Static Groups: you handpick the specific customers you want to include, or
Dynamic Customer Groups: you use different criteria to create groups automatically. As a result, the list of customers that apply to that group will constantly be changing. You can use saved searches for this, e.g., order value, customer status, etc.
Also, there are Anonymous and Logged in users, two other groups that come natively with the feature and can use as filters. To create groups, go to:
Lists > Relationships > Groups > New
Step 4: Create Item Segments
Once you have the customer groups created in NetSuite, the next step is to create the item segments. There are two ways to create them, Item Collections and Commerce Categories.
- Item collections (a new record). Go to:
Lists > Accounting > Item Collections > New
- Commerce Categories (you might be using Commerce Categories for creating your product segments, so you can skip this step and assign the corresponding Commerce Categories you want to use as product segments). Go to:
Lists > Website > Commerce Categories
In either case, you can assign them manually or by a mass update with a CSV import, for example.
Important: If you’re using matrix items, you’ll only be able to assign the matrix parent to either the item collection or the commerce category. You can’t have one matrix child built into an item collection and a different one into another item collection.
At this point, we have our customer groups and our item segments. So the next step will be to manage the item segment visibility.
Step 5: Manage Item Segment visibility.
We now have to tell NetSuite which customer groups get to see which item collections. There are three ways to do it:
a. Using the Customer Segments Manager (CSM),
b. Using the Customer Group Record or
c. from the Item Collection Record.
My suggestion is to go to the Customer Segments Manager, as it’s very visual. Go to:
Setup > Marketing > Customer Segments Manager
The image below shows a screenshot of the CSM. The first column shows all your item segments. A checkbox allows you to assign that item segment to all users to make it easier. Otherwise, you can type in the customer segments you want to assign the item segment (you’ll see the complete list of customer segments you created).
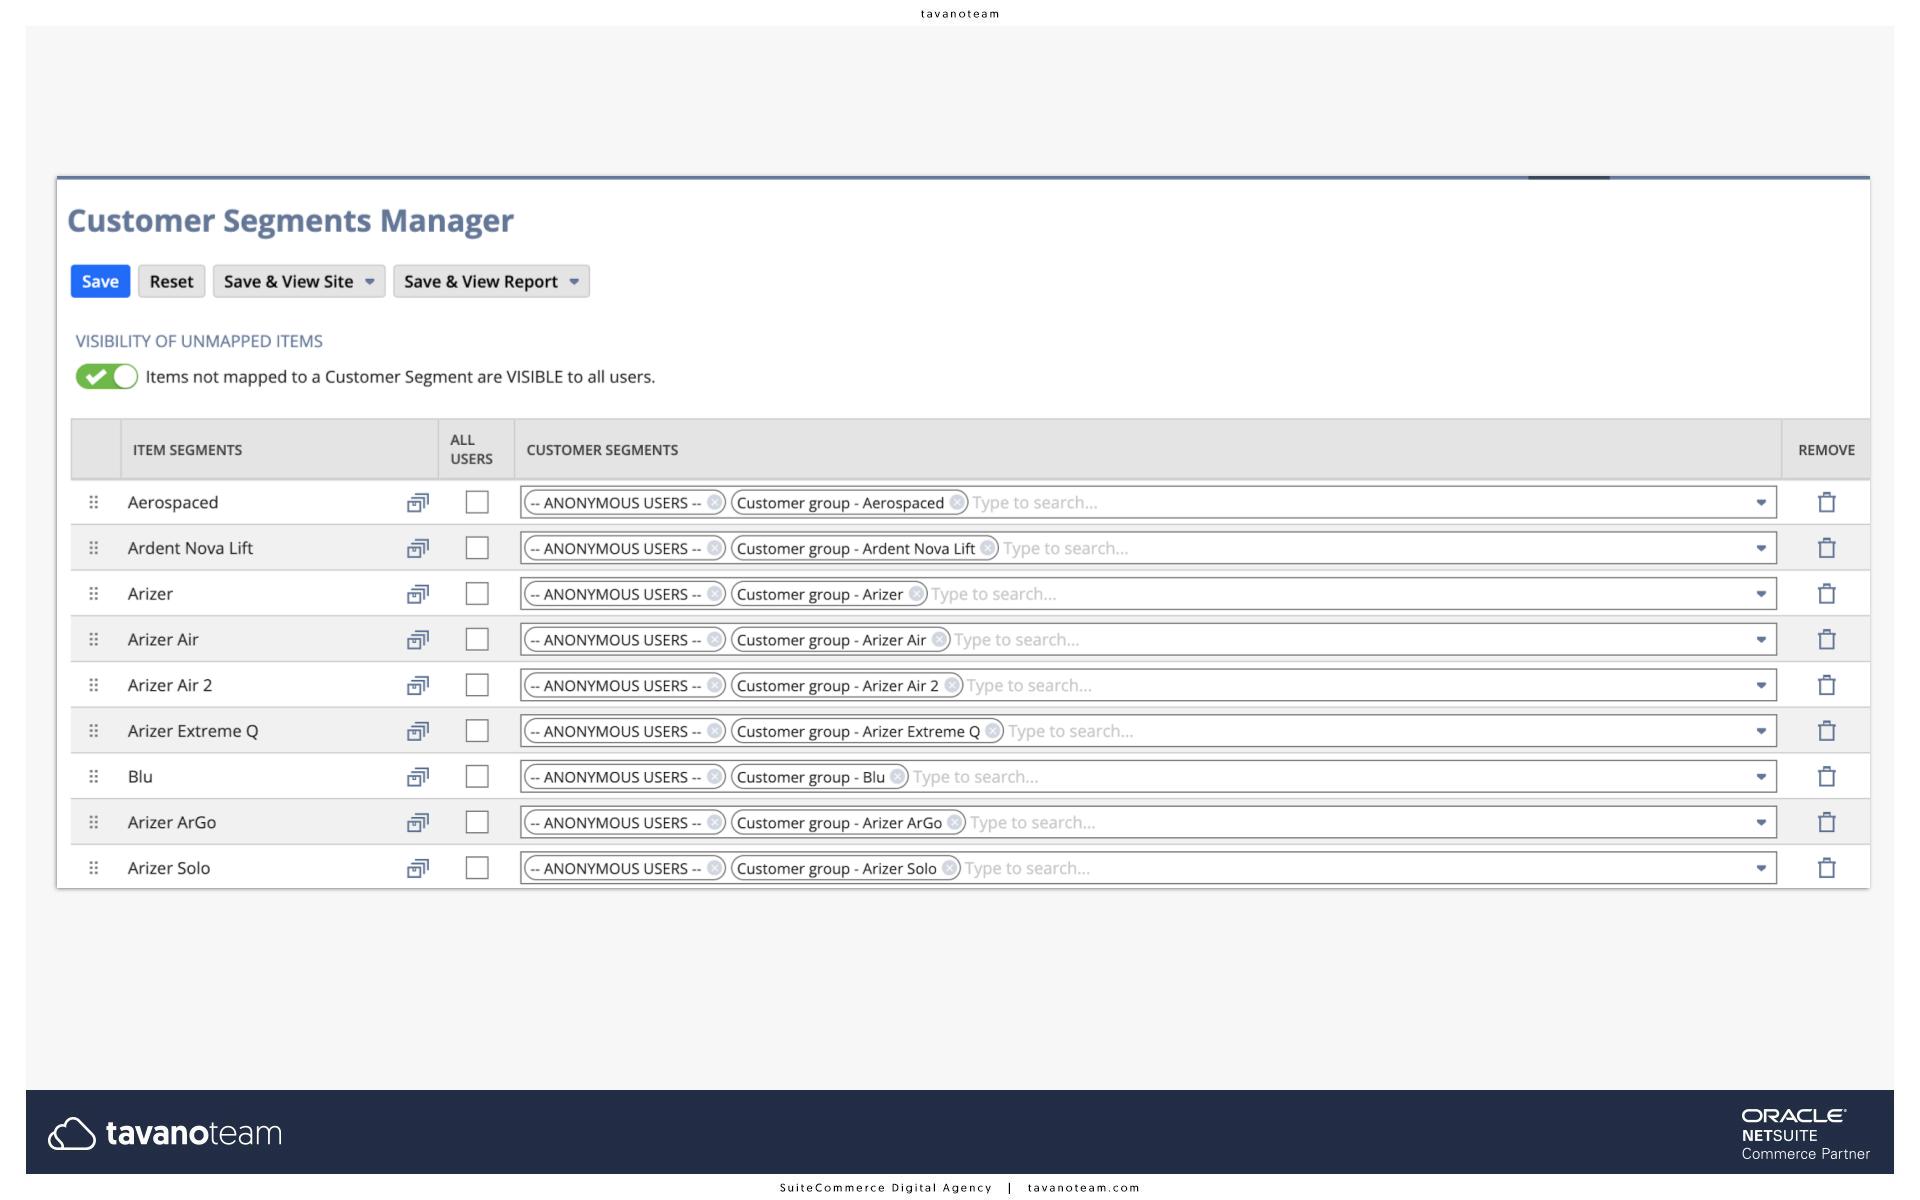
The CSM also lets you decide what to do with the items that do not map to any item collection.
For example, if you have 100 items on your website, but only 90 of them assigned to an Item Collection, you’ll have ten items excluded from all groups. You can decide whether they’ll be visible to all users or none of them.
Bonus: There is another way you can do the association, and it’s from the Item Collection Record. The picture below shows an Item Collection: You see the name, description, the list of what items belong to that collection, and the second tab shows the customer segments selected to see that particular item collection.

Step 6: Verify
Although optional, it’s always advisable to double-check and verify the associations. The latest version of the Site Management Tools is great to do this. The best scenario is to use this tool and test it viewing the site as different customer segments.
The Personalized Catalog Views feature is only available for websites that are running on SuiteCommerce Advanced 2019.2 or later. If you’re on a previous version, you will probably see the option in the backend, but you will not have it working on the website.
SuiteCommerce 2020.2 Update
The latest release of SuiteCommerce has an interesting new feature added to the Personalized Catalog Views. You can now Hide or Show the Add to Cart button for different Customer Segments. In other words, you can choose to have a customer segment see an item but not be able to buy it.
Are you looking to improve your SuiteCommerce Advanced site? Our SuiteCommerce developers can help you make the most of it. Drop us a line, and let’s get started!
Don’t forget to check out our NetSuite eCommerce services too: